- Portfolio ▼
- | Blog
- | Affiliate discounts
- | Guestbook
- | Info
- | Contact
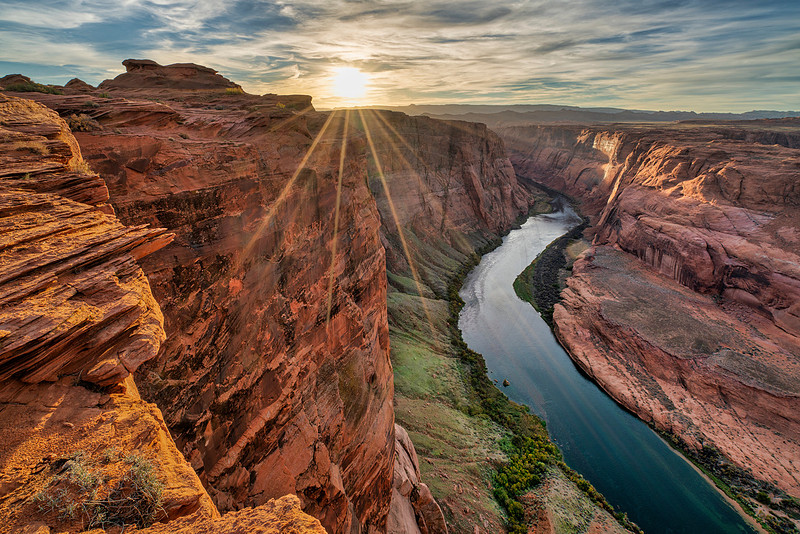
Sunstars and flareYes, I know that some people really like flare in their shots. No, I don't know why they like it either. Flare certainly has its place if you are trying to portray a harsh, hot, and dry environment but those are the exceptions to me. I have written in previous blogs how to deal with flare when you shoot. There are techniques that will help you eliminate it mostly. Today I am going to deal more with the post processing side of getting rid of this pest. First look at this image. To begin with it had numerous flare spots. Yay, they are gone now. How did I do it? I had written a few other blogs on how to create a sunstar - please look at those blogs if you are interested in learning how to make sunstars.
Open the image in Photoshop. Create a blank new layer on top of your image. Color pick a color with the color picker that is just outside of the flare - pick the color that resembles what the spot's color would have been had it not been for the flare. Take the paint brush and paint the picked color over the flare. If the flare is large and has multiple different colored objects just pick the right color for each object and pain over that object in that color. You can use multiple strokes using multiple colors in this way. Change the layer's blending mode to "color." There, the color of the flare is now gone. However, you are not going to like the result because the flare also increased the brightness of that spot. So now that spot is way to bright and still equally visible, distracting, and annoying. Can you tell that I don't like flare generally speaking? All you need to do now is to change the brightness to match the surroundings. The are many ways to do so: Dodge and burn Adjustment layers Curve layers And on and on and on I typically merge the "color" layer and the duplicate layer and take them into Adobe Camera Raw where I use the radiant brush to fix the brightness. With this brush I can set exposure, contrast, and all sorts of things. This is my preferred method rather than the ones mentioned in this list. Lastly, I do final touchups with the healing brush or cloning which is now easier to do and typically involve smaller areas. Comments
No comments posted.
Loading...
|
Subscribe
RSS
Archive
January
February
March
April
May
June
July
August
September
October
November
December
|